Craft & DIY
#19 · Clay sculpting tool
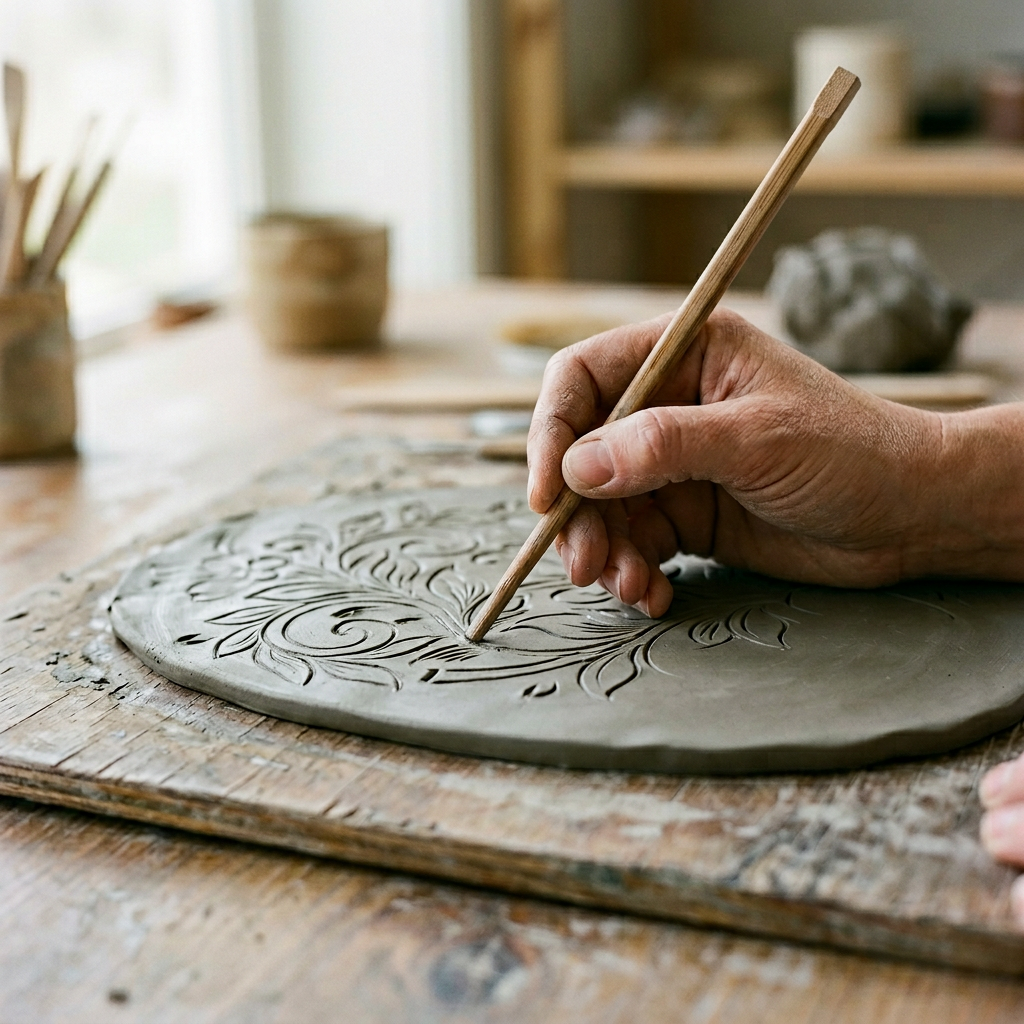
Score, smooth, texture, and shape clay with the pointed and flat ends. A surprisingly versatile addition to any pottery session.
A set of wooden clay tools costs £15 and consists almost entirely of shaped sticks. A chopstick has a point at one end and a rounded blunt face at the other, which covers a genuinely large share of what those tools do - and it is the tool most beginners should actually start with.
How to do it
- Wedge your clay first - knead it to drive out air pockets, or the piece may crack or burst in the kiln.
- Use the pointed end for incising lines, adding texture, and piercing holes.
- Use the blunt end for smoothing, blending seams, and pressing rounded impressions.
- Score and slip any joins: scratch crosshatching into both faces, wet them to a slurry, press together. The chopstick point does the scoring.
- Keep the tip damp so it releases cleanly instead of dragging.
Why it works
Clay sticks to smooth non-porous surfaces like metal and plastic, and releases from slightly porous ones like wood. That is the whole reason traditional modelling tools are wooden, and it applies to a chopstick exactly as well as to a £4 boxwood tool.
Tips & warnings
- Keep a pot of water beside you and wipe the tool often.
- Air-dry clay is very forgiving and needs no kiln - the right place to start.
- Don't leave a chopstick standing in a bucket of slip. It swells, then splits.
Variations worth trying
- Sand the point to a chisel edge for cutting flat-bottomed grooves.
- Carve a notch into the side and you have a simple loop-less trimming tool.
- Wrap the blunt end in a scrap of chamois for burnishing a leather-hard surface.
- Rolling a chopstick across a slab leaves a shallow flute - useful as a repeating border pattern.