Kids & Play
#61 · Make a wizard wand
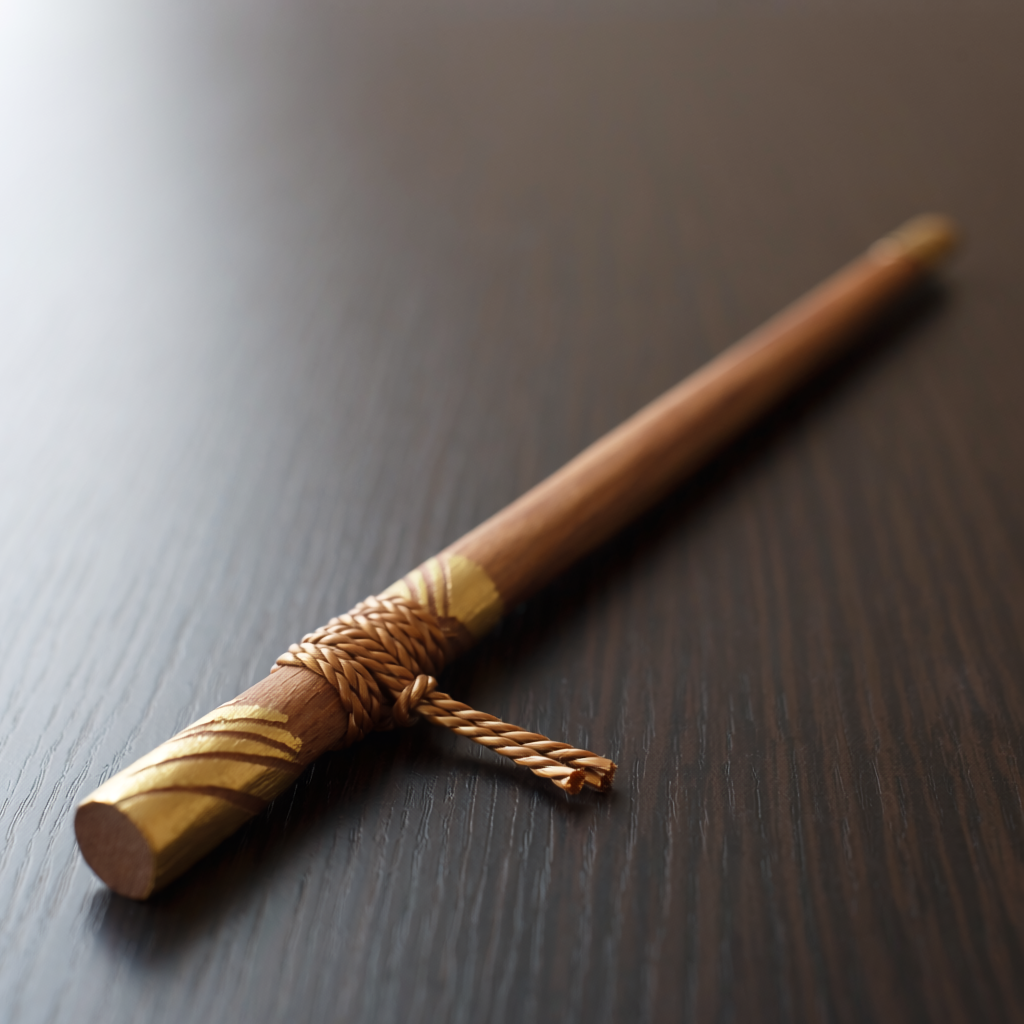
Sand it, paint it, wrap the handle in thread - or just wave it around as-is and mutter convincingly. Magic is in the commitment.
At some point every child requires a wand, usually urgently and with no notice. A chopstick, a lump of air-dry clay and ten minutes of painting produces something that will survive a whole summer of enthusiastic casting.
How to do it
- Take a plain wooden chopstick, blunt end as the handle.
- Wrap a small ball of air-dry clay around that end and squeeze it into a grip - knobbly and irregular looks far better than smooth.
- Press a spiral or a few grooves into the clay with the tip of a second chopstick while it is still soft.
- Leave it to dry fully - overnight at least, longer if it is thick.
- Paint in browns and greys, then dry-brush a lighter shade over the raised bits to bring out the texture.
Why it works
A chopstick already has the proportions of a classic wand: long, tapered, light, and balanced far enough forward to feel like it wants to be flicked. That is not a coincidence so much as convergent design - both objects are optimised for precise movement at the tip.
Tips & warnings
- Dry-brushing is the single technique that makes home-made props look finished. A nearly-dry brush, a lighter colour, and a light touch.
- Sand the tip round before it goes anywhere near a game.
- Different clay shapes suggest different characters, which children take extremely seriously and rightly so.